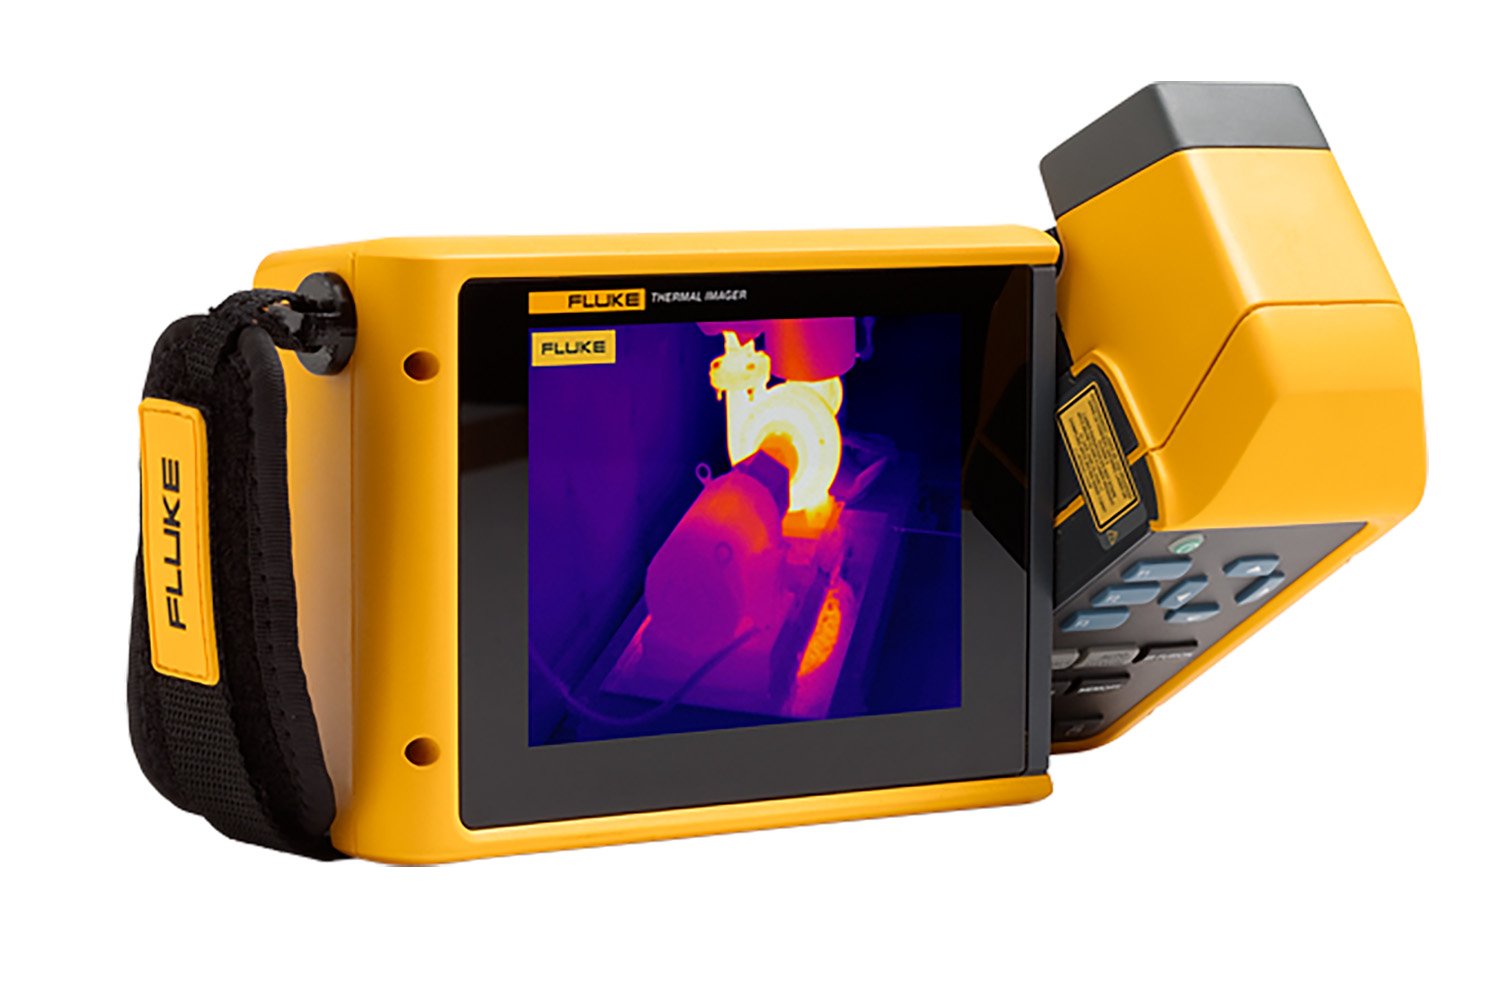
Robust desktop and mobile phone software is an important aspect of thermal inspection workflows. Thermography software can help enhance and clarify images, add analysis and share professional-looking reports in applications spanning mechanical, electrical, electronic equipment, building diagnostics and more.
It’s important to note that analyzing thermographic imagery accurately requires special training to consider emissivity of objects and other factors like background temperature and relative humidity that can influence temperature measurements by infrared cameras.

Just as professional photographers use software to turn photographs into stunning works suitable for publishing or widespread sharing, thermographers use software as a tool to analyze and then enhance and fine tune thermal images, so the information can be shared with managers and others. Good thermal imaging software fully utilizes the radiometric data supplied by the camera’s sensor to get the most out of the image or video.
In addition, the user can import images directly from an infrared camera’s memory or a removable memory device, such as an SD or Micro SD. Thermographers use software that enables them to manage file transfers between the thermal cameras in a way that best suits them.
When evaluating software to use with an infrared camera, experts recommend you check that the software includes these important features:
- Multiple image or video formats options
- Look for infrared cameras that can process and export images in multiple file formats, such a .jpg, .tiff, .bmp, .gif, or .avi, as well as proprietary formats, that can tap more data for advanced analyses. Fluke infrared cameras save still images in .is2 format, for instance, for further image processing and analysis in Fluke Connect® software, and images can be exported from this software to many commonly used file formats. You may also choose to export the temperature data from the image to CSV or XLS format for further analysis.
- Edit and manipulate images
- Adjust level and span, change emissivity, add markers, highlight boxes, reference images, color alarms to home in and gather more information on a hot or cold spot you’ve found.
- Combine visible light and infrared images
- Adjust and blend visible and infrared images together to better locate potential problem areas. This is the IR Fusion® feature in Fluke software.
- Live viewing and sharing of infrared images or video
- View streaming data from your camera on your smartphone or computer. This is available via the Fluke Connect® mobile app on some models, for example. Share images in real-time across the internet so remote team members or managers can see what you’re seeing while performing a scan.
- Remotely control your infrared camera
- Some software lets you activate auto focus or capture images and other functions without touching the camera. Remotely controlling your infrared camera lets you stay out of potentially hazardous areas or put the camera where you need it in tricky application situations.
- Create templated or custom reports
- Best-in-class software adds options for building and customizing reports to fit your needs. When completed, you may want to share with your team, meaning exporting them in .pdf or .docx formats.
- 3-dimensional analysis
- View infrared images from different perspectives helps eliminate false positives and supports the identification of additional problem areas. Fluke 3D analysis capability is called 3D-IR®. This is a capability of better thermal image analysis software programs.
- Side-by-side comparison
- Side-by-side comparisons of images taken at different times are included in the Fluke Connect software platform’s Asset Health dashboard. Being able to see these comparisons is important in predictive maintenance, seeing changes and wear and tear between a previous and current walkthrough helps quickly uncover where problems may be showing up.
- Change color palette
- Control colors in the image, or view as grayscale, to make heat or cold spots easily apparent.
- Annotations
- Categorize and catalog images
- Thermal imaging software that has tools to categorize, tag, or catalog thermal images and associate with equipment can help streamline your workflow. This feature is built into Fluke Connect Assets software.
Get the most out of your thermal imaging software
Once you’ve selected your thermal imaging software and collected thermal images of all your equipment with your thermal camera, the challenge is how to stay on top of them. Here are some quick tips on how to do just that:
- Transfer images directly from your thermal camera to your PC or to the cloud where they’ll be automatically assigned to an asset in your facility.
- Save thermal imaging data directly to a work order if repair is indicated.
- Sort custom thermal imaging reports by capture or modified date.
- Compare baseline, historical, and current infrared images of an asset with its corresponding mechanical and electrical measurements to spot anomalies as they emerge.
- Review asset status over time to identify potential preventive actions.
- Set up a hierarchical asset structure to track your thermal images and other maintenance data on each asset in relation to one another.
- Prioritize your workload by quickly scanning the most recent status updates on key assets.