If you’ve ever had an x-ray, computerized tomography (CT) scan, or magnetic resonance imaging (MRI), you know the importance of accurate and reliable results. Yet, these critical diagnostic machines feature very fine calibration tolerances and specific power ranges. Any power quality disturbance or issue can cause reliability issues, not to mention downtime, decreased productivity, and frustrated personnel and patients.
Power quality covers a wide range of attributes, including:
- Voltage disturbances such as sags, swells, outages, and transients
- Current harmonics
- Performance wiring
- Grounding
Some common symptoms of poor power quality include:
- Intermittent lockups and resets
- Corrupted data
- Premature equipment failure
- Overheating of components for no apparent reason

The EKG Machine
One onsite field engineer at a hospital reported a call from a concerned ER nurse. An electrocardiogram (EKG) machine was malfunctioning, causing highly unexpected results. Upon inspection, the engineer noticed that the signal was a 60 Hz sine wave (slightly flat-topped). A further look at the signal wires told him that they had been laid parallel to the power cord. The coupling between signal and power wires caused the 60 Hz to mimic a “heartbeat” on the EKG machine.
Whether an EKG, x-ray, CT scanner, MRI or other diagnostic or treatment equipment, the steps to diagnose power quality issues are the same.
Diagnostic Approaches
The great majority of power quality problems originate in the facility. In fact, generally, power quality is best at the service entrance (connection to the utility) and deteriorates downstream through the distribution system. Approximately 75% of power quality issues are related to wiring and grounding problems.

- Map the site: Diagnosing power quality problems begins with an investigation into the site/environment where the asset or instrument is used. Start with a one-line diagram of the site, including AC power sources and the loads they serve. This may seem exuberant, but systems are dynamic—they change over time and often in unplanned, haphazard ways. While some problems are local in origin and effect, there are many problems that result from interactions between one part of the system and another.
- Use your eyes: A visual inspection will offer immediate clues, including hot transformers, discolored wiring or connections (from heat), extra neutral-ground bonds in sub panels, and grounding conductors connected to pipes that end in mid-air.
- Get user insights: Interview the people operating the affected equipment. Get a description of the problem—this step often turns up unexpected clues. Good practice is to keep a record of when problems happen and what the symptoms are, especially for intermittent problems. The goal is to find some pattern that helps correlate the occurrence of the problem to a simultaneous event elsewhere.
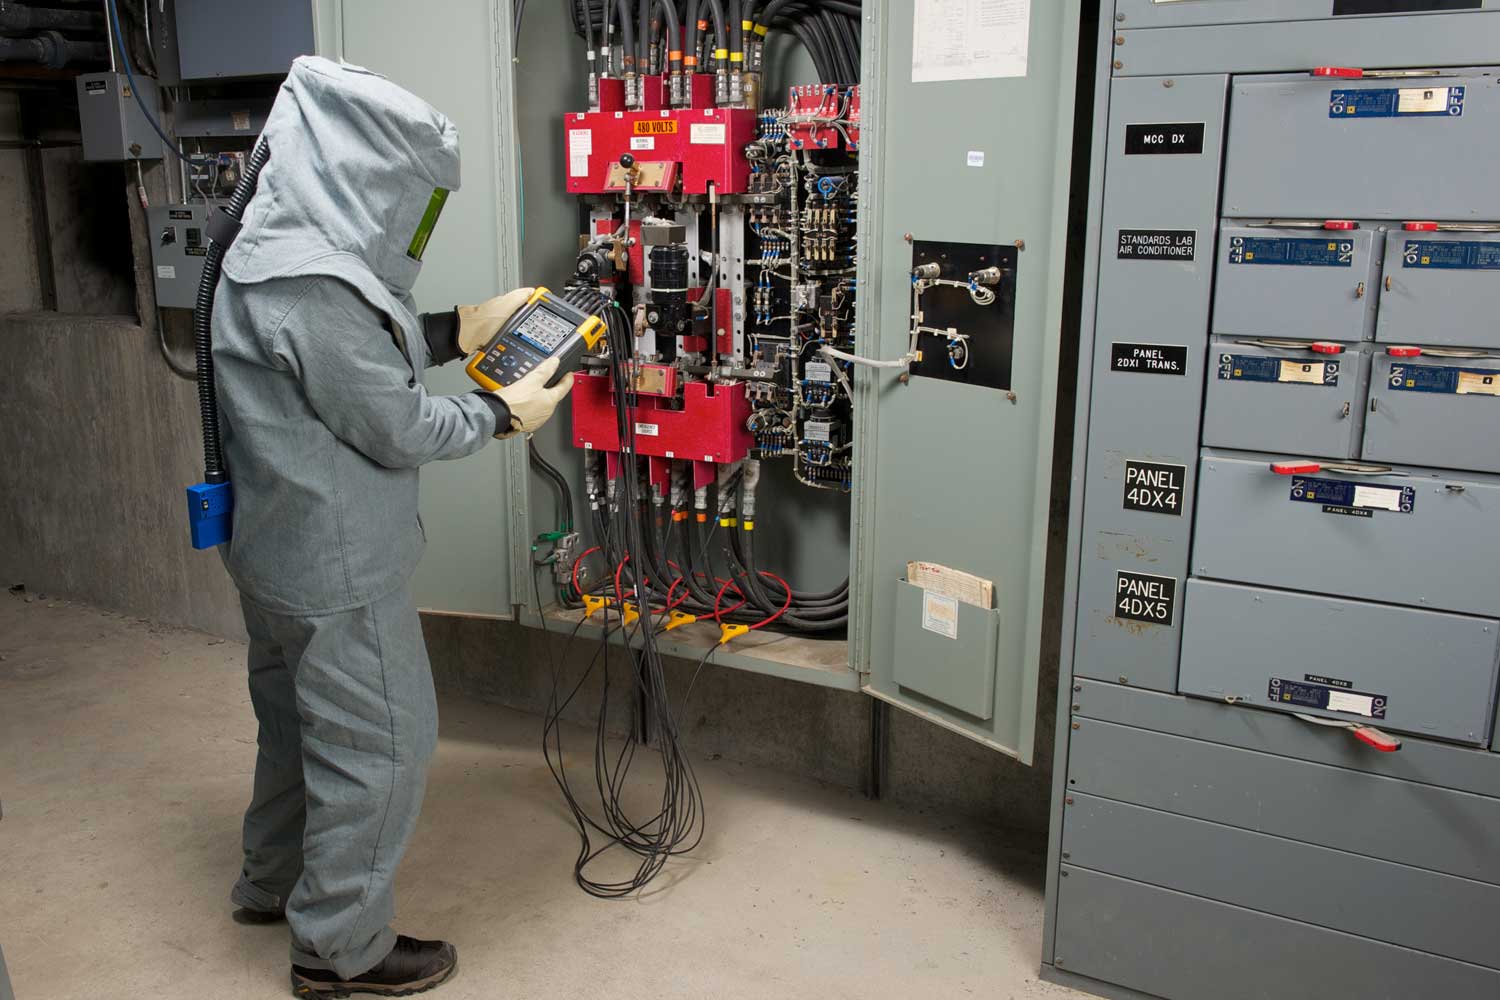
- Use your tools: Troubleshoot with your power quality analyzer to measure the receptacle branch circuit, service panels, transformers, electrical noise and transients and lighting protection, motors, adjustable speed drives, and commercial lighting loads.
Test tools used in power quality troubleshooting should be safety rated at CAT IV-600 V or CAT III-1000 V for measurements at the service entrance and on high energy power circuits. In addition, instruments with recording capability, waveform display, and specialized measurements (such as harmonics, sags and swells, transient capture, high frequency noise) are needed.